|
| Justin wastes no time: banging on the walls minutes after buying the place |
The very first time we walked through the house, Justin could tell that something funky was going on with the living room entryway, and it just kept bugging him. So what was the VERY first thing he did after we bought the house? Tear into the wall, of course. When he did, we discovered that at some point, this entryway had been reduced in size (or it was enlarged early on and then put back to its original size, it's kind of hard to tell). This was obvious because of the way it was framed, and the fact that it was covered with drywall while everything around it is lathe plaster.
Since the previous patch job on both sides was pretty bad, we removed the drywall.
 |
| The living room wall, after removing the previous owner's poor patch job |
 |
| The dining room wall, after the patch on both sides was removed |
We also opened up the wall on the other side of the entryway (see photo below), but this was not to fix anything. Rather, we used this space to create a raceway for the new second floor electrical cabling (more on that later).
 |
| The area where we built the electrical raceway, with some lath still attached |
 |
| Justin and his Dad inspect the ceiling |
Remember when
the ceiling went boom? Here it is again, in all its naked glory. We needed to drywall that, too. Thankfully, Justin's Dad, Brother, and Cousin all came to help install the drywall. They used a lift to install the ceiling.
 |
| Newly-drywalled ceiling and walls awaiting joint compound tape |
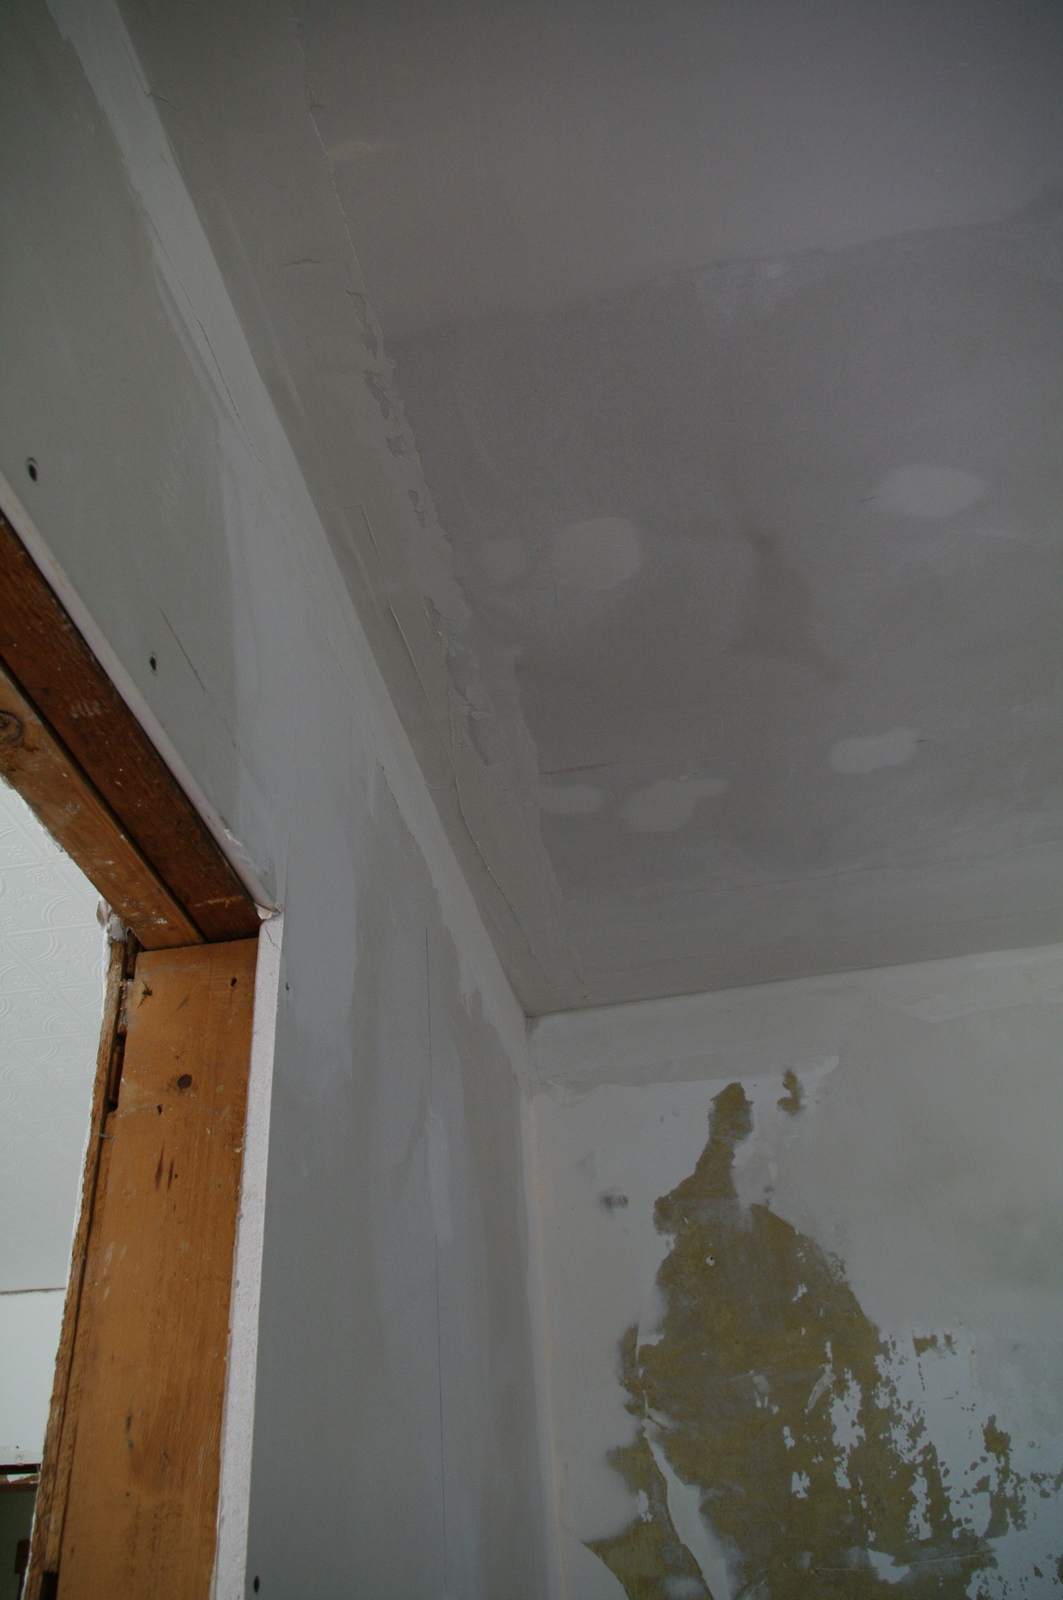
The original plan was to run a 5" oak crown around the ceiling (hence the gaps). However, time didn't allow for milling the crown prior to moving in, which left a lot of gaps to be addressed with "creative" mud work.
 |
| Drywall joints, taped and mudded |
Over two days, Justin ran three layers of "hot mud" (20 minute setting type compound), and two layers of tape in the joints where the ceiling meets the old lath plaster walls. The setting compound is heavy, and takes a lot of presure to pull across an inside joint. During the process, Justin tore his right rotator cuff slightly, which made the subsequent sanding much more difficult (although for better or worse, it did not stop him!).
 |
| Justin preps the shop vac for cleaning up after sanding |