Pages

Showing posts with label demolition. Show all posts

Friday, August 31, 2012

Pry Bars and Wood Knots and Screws...Oh My!

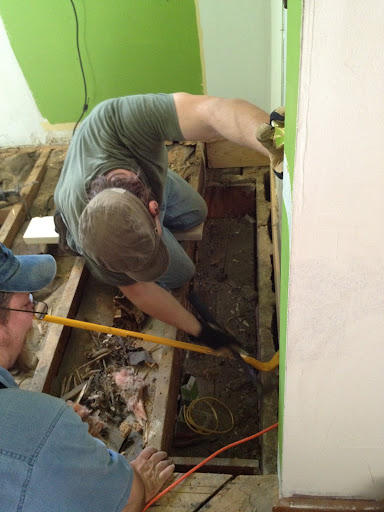
Brigitte pries up an ornery piece of maple flooring
Now that the most troublesome part of the floor has been fixed, we started working on the rest of the floor. The troublesome parts were newer (70's?), while the rest of the floor is older (50's?) and properly constructed. The bad part about ripping up a properly constructed floor? It takes a lot more muscle!


That's a lot of wood! We'll save some of it for future projects (like our butcher block island)


Ah, that's better. Wood all cleaned up, paper all rolled up. Now we can get a good look at the subfloor.

A knot, aka a secret spy hole into the basement
Since it's made of old-growth wood, the sub-floor has plenty of knots. These tend to fall apart over time, leaving holes. We will need to add some plywood and filler behind them.


A few sections of the old sub-floor were too damaged to leave in place. We replaced them with sections of 3/4" plywood, which we secured with 2x4 blocking.

Brigitte screwing around. 
All of the original boards had come loose as we pulled the maple flooring, so we secured them with screws, then counter sunk all of the loose nails with a punch.

Justin laying down glue for the plywood
With all of the sub-flooring prepared (new and old), we added a layer of 1/4" plywood over the whole thing to create a nice, consistent layer before adding the tile backer. We first glued it down, then screwed it to the sub floor.  

1/4" plywood, glued and screwed over the sub-floor
This will lift the tile about 1/8-1/4" above the existing flooring, which means we'll have to install a transition. But it will also minimize the possibility of the tile cracking.

Justin lying down on the job!

Once we had a consistent surface, we checked to see how level it was. We found a 3 foot run where the floor has a 1/4-1/2" drop heading toward the chimney. Unfortunately, fixing this would be a major structural repair we can't afford to address at this time. To correct the problem we would need to put up floor jacks in the basement, and to do that, we would have to revamp all the plumbing (which we're planning to do at some point, just not right now).

Luckily, the area where the cabinets will be installed is all consistently level now. The area that droops is isolated to a corner where we have not planned to install anything but flooring. We will just have to live with this for now and see what ramifications this might have later on down the road.

Saturday, August 25, 2012

Frightful things beneath the floor, part 2


We initially thought the poorly constructed, former-porch area would be the worst of the kitchen floor. But when we opened up the next section (between that area and the door), we found even worse problems. Specifically, the area directly beneath the door.

Our door is practically unsupported!

What we found was very little support under the door and wall.  There was a piece of wood just sitting next to those two stringers, supporting nothing.

A completely useless concrete cap on top of the foundation, blocking our way!

Once we removed the stringers and the insulation, we discovered a thick concrete cap covering the cinder blocks of the foundation. This serves no practical purpose. We had to remove this cap before we could even think about adding proper support to the door frame and the wall.

Justin and Bryan prying out the concrete cap

We constructed a beam of three 2X8's to support the door (you can see it installed in the photo below, right). We will be replacing this door sometime later, and without the extra support, this would be impossible. With the wall supported we started adding blocking and stringers to the joists to better support the plywood, checking all the while that things were level.


A view of our basement, and some structural additions to the floor

We had to adjust a little to install the new plywood. Due to a slight jog in the back wall,  a gap was left near the center section that will be filled in with floor leveler before the next layer of 1/4 inch plywood goes down. We would have liked to avoided that, but without reframing the whole wall, it just wouldn't be possible. We still have a slight rise in one corner where the old and new floors meet, but that will be fixed with floor leveler as well.

The first layer of plywood, completed


Friday, August 24, 2012

Fixing the Frightful Subfloor

The original sub-floor
As you may remember from an earlier post, we found some unsettlingly poor construction when we uncovered this section of the kitchen sub-floor. Luckily, our plucky protagonists were able to get it fixed and supported as best they could. 


Justin strugles to pry up the tongue and grove "sub-floor" (porch flooring), revealing the joists
Brigitte (or at least her feet) and Justin discuss what needs to be done.  The false wall to the left is completely unsupported. 
Justin gathers strength before delving into the task at hand (we got issues here).
Hey guys, did you know there's a hole in the floor?!


Here it is, nearly complete. The left side had to have 2x6 stringers added (all on joist hangers).  It would have been nice to add another 2X8 joist just under the false wall, but it would have required a massive amount of electrical and plumbing re-work.  The stringers should be robust enough at 12" on center to support the wall and the floor beneath the cabinets.


Thursday, August 23, 2012

Frightful things lie just beneath the kitchen floor

When we removed the old cabinets, we discovered that there were some funky things going on with the floor. So funky, in fact, that we decided we'd be better off redoing the entire floor. 

In the above photo, you will notice several things:
a) Discoloration from old vinyl backing 
b) Water damage from improperly sweat plumbing
c) Cuts in the floor along the cabinet edge, evidence that the floor has been patched

What you can't see is a slight rise in the middle of the floor right about where Justin is kneeling, which is the most worrisome of all.  Initially we considered just living with it. But the more we looked at it, the more Justin was concerned that this "lip" might indicate a more severe issue. He also suspected that part of the floor had been shimmed to level it.  And unfortunately, he was right on both counts.  

Justin removes flooring with a golf-club-sized pry bar

There's no way to know what lies beneath the floor without tearing it up, so that's what we did. We started at the wall, working our way back with pry bars. We discovered that there were two different kinds of maple flooring, one that was probably original, and one stamped with the year 1994. So that confirms that the floor was patched relatively recently.

Removal in progress, with an unused sledgehammer for dramatic effect
What we uncovered beneath layers of tar paper, shims, and scrap wood was evidence of a poorly done kitchen addition. Below is the area where the original kitchen floor meets the addition. Part of it was probably a mud room, and this square section looks to have been a porch (note the door threshold on the righthand side). This area of the floor is roughly 1/4" lower than the rest of the floor, which explains the "lip" we noticed earlier.


Once the shims and tar paper were removed, we got a good look at where the floor joists attach to the original framing. 


The floor joists in the former-porch section are just nailed to the old exterior without a proper outer plate. Because the joists were simply nailed through two layers of siding (cedar and tar shingle), they have begun to sag. This is the root of the problem. Unfortunately, properly supporting and securing the joists is no easy feat. But we are determined to make it happen! 
Justin removes scraps of tar shingle and other debris from the gap around the addition


In the gap, you can see the improperly-attached floor joists

And this, folks, is what we have to work with. The exposed sub floor in the picture below will need to be removed down to the floor joists and replaced with plywood. We have already purchased the needed supplies at Home Depot and are prepared to get started. Stayed tuned for our next episode: sub-floor demolition derby!


Wednesday, August 15, 2012

Kitchen Demolition: Mission Accomplished


Kitchen: Demolished!
This is what it looked like just a few days ago

Kitchen demolition is complete! It went a lot quicker than I had anticipated. What took the longest was packing everything up and moving it out--either upstairs, out of the way, or in the basement, in our makeshift kitchen (that was my job). Ripping out cabinets and moving appliances was a fast process with three people working together (although, let's be honest, the other two did most of that job, while I took pictures and lugged things out to the dumpster).

Tearing out the countertop

The stove is gone; here go the cabinets!

Justin uses his trusty Makita drill to take down shelves

And the shelves come down!

Displaced dishwasher and stove where the breakfast nook used to be

There's no going back now!

Thursday, August 9, 2012

We have a dumpster!


It's a BIG dumpster! 30 yards, to be exact. Justin assures me that we will have no problem filling this up. 


Justin hanging out inside the dumpster. 


Brigitte preparing for some good old-fashioned dumpster diving (or not). 


Wednesday, May 30, 2012

Keeping up with the Bagsters


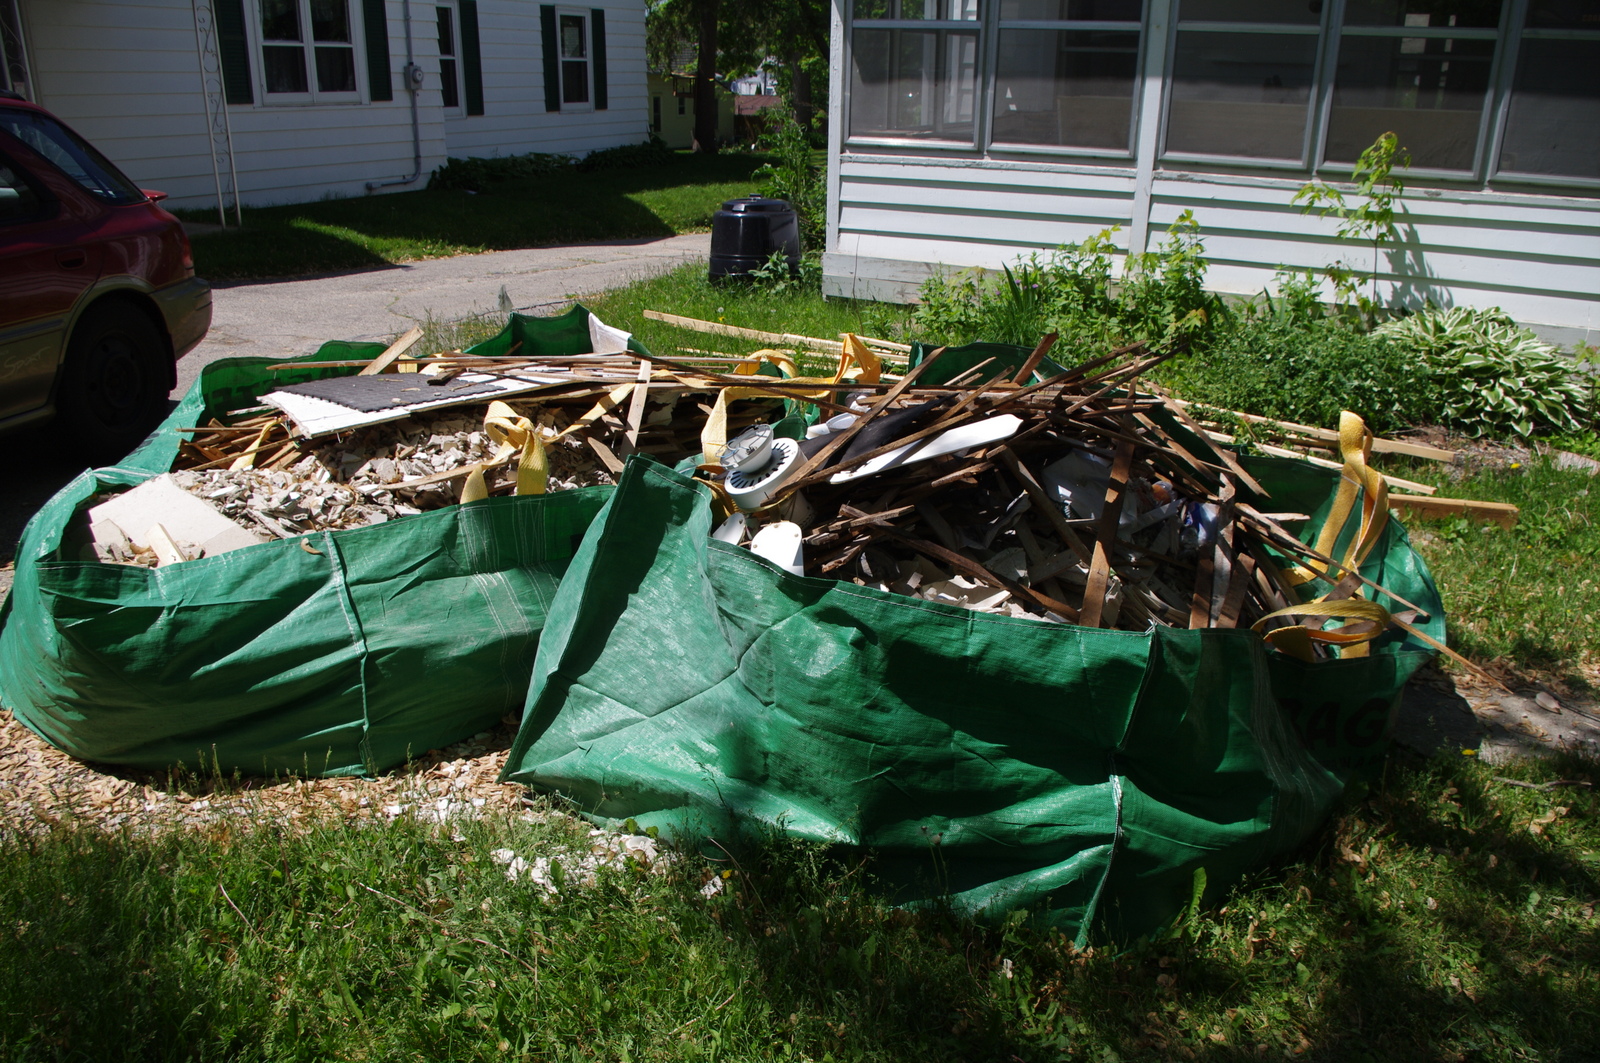
As I recently found out, a Bagster is like a dumpster, except it's a bag. You buy the bag at your local hardware store, and then have it picked up once it's full. Pretty simple. We decided that this would be more cost-effective than renting a dumpster for disposing of all the lathe, plaster, and other stuff we're tearing out of the house.


Right now, they're just sitting in our yard, looking exceedingly classy.


Bundles of lathe in a homemade wheelbarrow (yes, that's a bicycle wheel)

When our Bagsters started to get overloaded, we made more space by removing some of the lathe and bundling it up. Then, we set the bundles on the curb and put up a Craigslist posting for free bonfire wood (with a prominent warning about the nails). Turns out, one of my neighbors was very grateful to take it and throw it on a bonfire in her yard.

A local duck stops by to check out our Bagsters.

Note: this post is not sponsored by Bagster in any way, nor are we getting anything in exchange for writing it. We just like the product, and besides, we wanted to share just how much our yard is starting to resemble a construction site.

Saturday, May 5, 2012

Drywalling the dining room walls and ceiling

Justin wastes no time: banging on the walls minutes after buying the place
The very first time we walked through the house, Justin could tell that something funky was going on with the living room entryway, and it just kept bugging him. So what was the VERY first thing he did after we bought the house? Tear into the wall, of course. When he did, we discovered that at some point, this entryway had been reduced in size (or it was enlarged early on and then put back to its original size, it's kind of hard to tell). This was obvious because of the way it was framed, and the fact that it was covered with drywall while everything around it is lathe plaster.  

Since the previous patch job on both sides was pretty bad, we removed the drywall. 

The living room wall, after removing the previous owner's poor patch job

The dining room wall, after the patch on both sides was removed
We also opened up the wall on the other side of the entryway (see photo below), but this was not to fix anything. Rather, we used this space to create a raceway for the new second floor electrical cabling (more on that later).  

The area where we built the electrical raceway, with some lath still attached


Justin and his Dad inspect the ceiling

Remember when the ceiling went boom? Here it is again, in all its naked glory. We needed to drywall that, too. Thankfully, Justin's Dad, Brother, and Cousin all came to help install the drywall. They used a lift to install the ceiling.

Newly-drywalled ceiling and walls awaiting joint compound tape
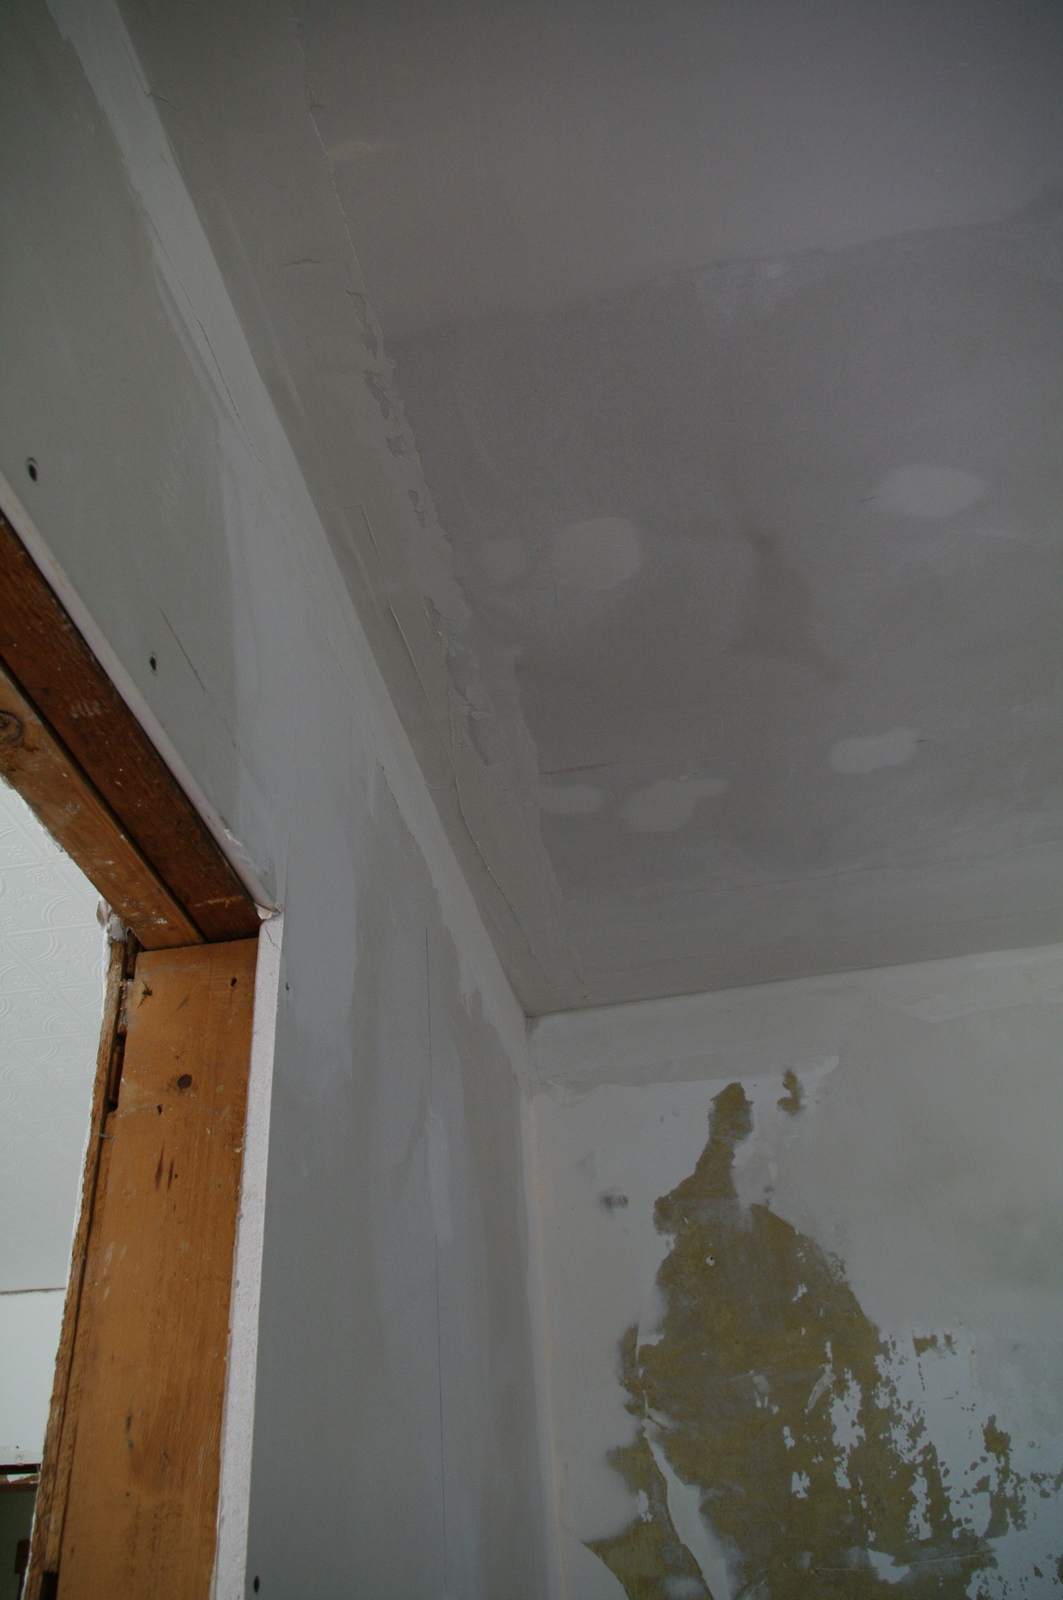
The original plan was to run a 5" oak crown around the ceiling (hence the gaps). However, time didn't allow for milling the crown prior to moving in, which left a lot of gaps to be addressed with "creative" mud work.
Drywall joints, taped and mudded
Over two days, Justin ran three layers of "hot mud" (20 minute setting type compound), and two layers of tape in the joints where the ceiling meets the old lath plaster walls. The setting compound is heavy, and takes a lot of presure to pull across an inside joint. During the process, Justin tore his right rotator cuff slightly, which made the subsequent sanding much more difficult (although for better or worse, it did not stop him!). 

Justin preps the shop vac for cleaning up after sanding