Pages

Monday, September 17, 2012

Grouting the tile (and a gratuitous picture of a cat)

We are ALMOST finished with the floor! Now it's time to grout the tile

Justin mixes grout

Due to a slight miscalculation, we mixed up way more grout than necessary. The old drill was hurting once the grout started to thicken.

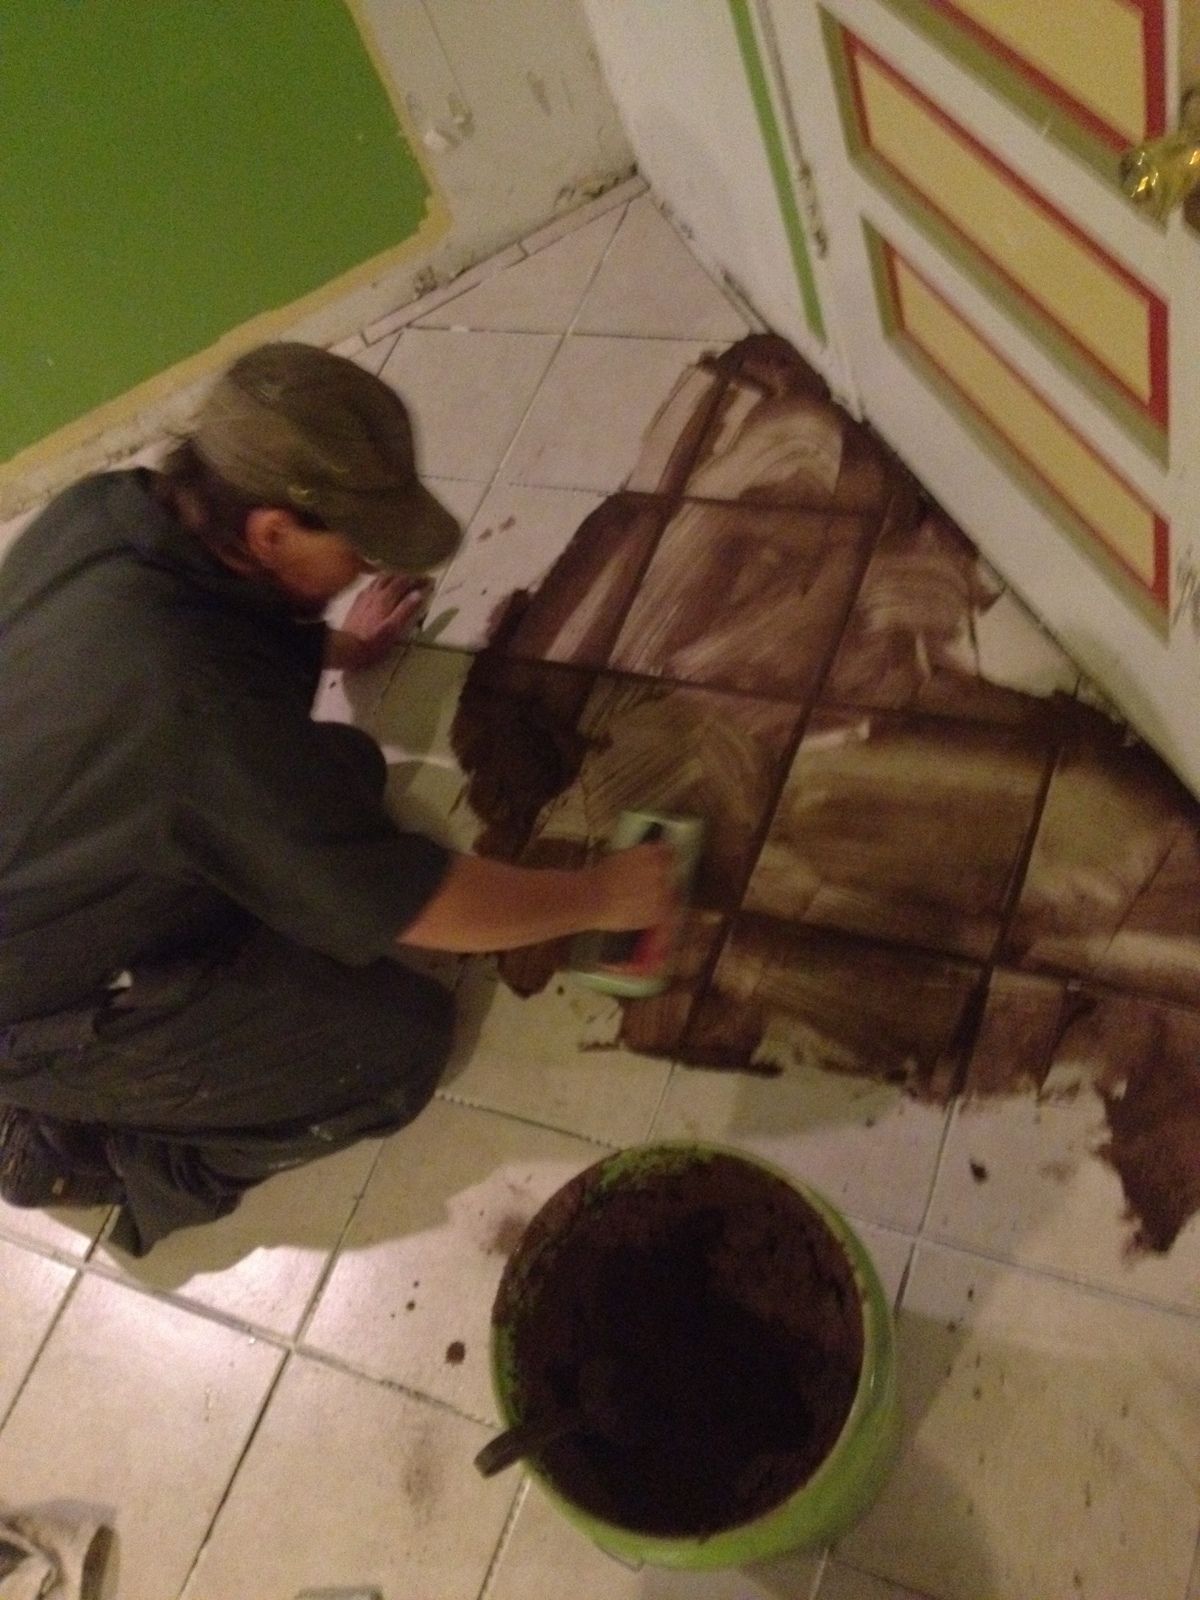
Starting to lay the grout


We went with a medium brown color for the grout; it will dry a lot lighter than it looks here. The colored grout is a little harder to wipe off clean with the kind of float Justin was using. Brigitte followed with a foam float to clean up what was left behind.  

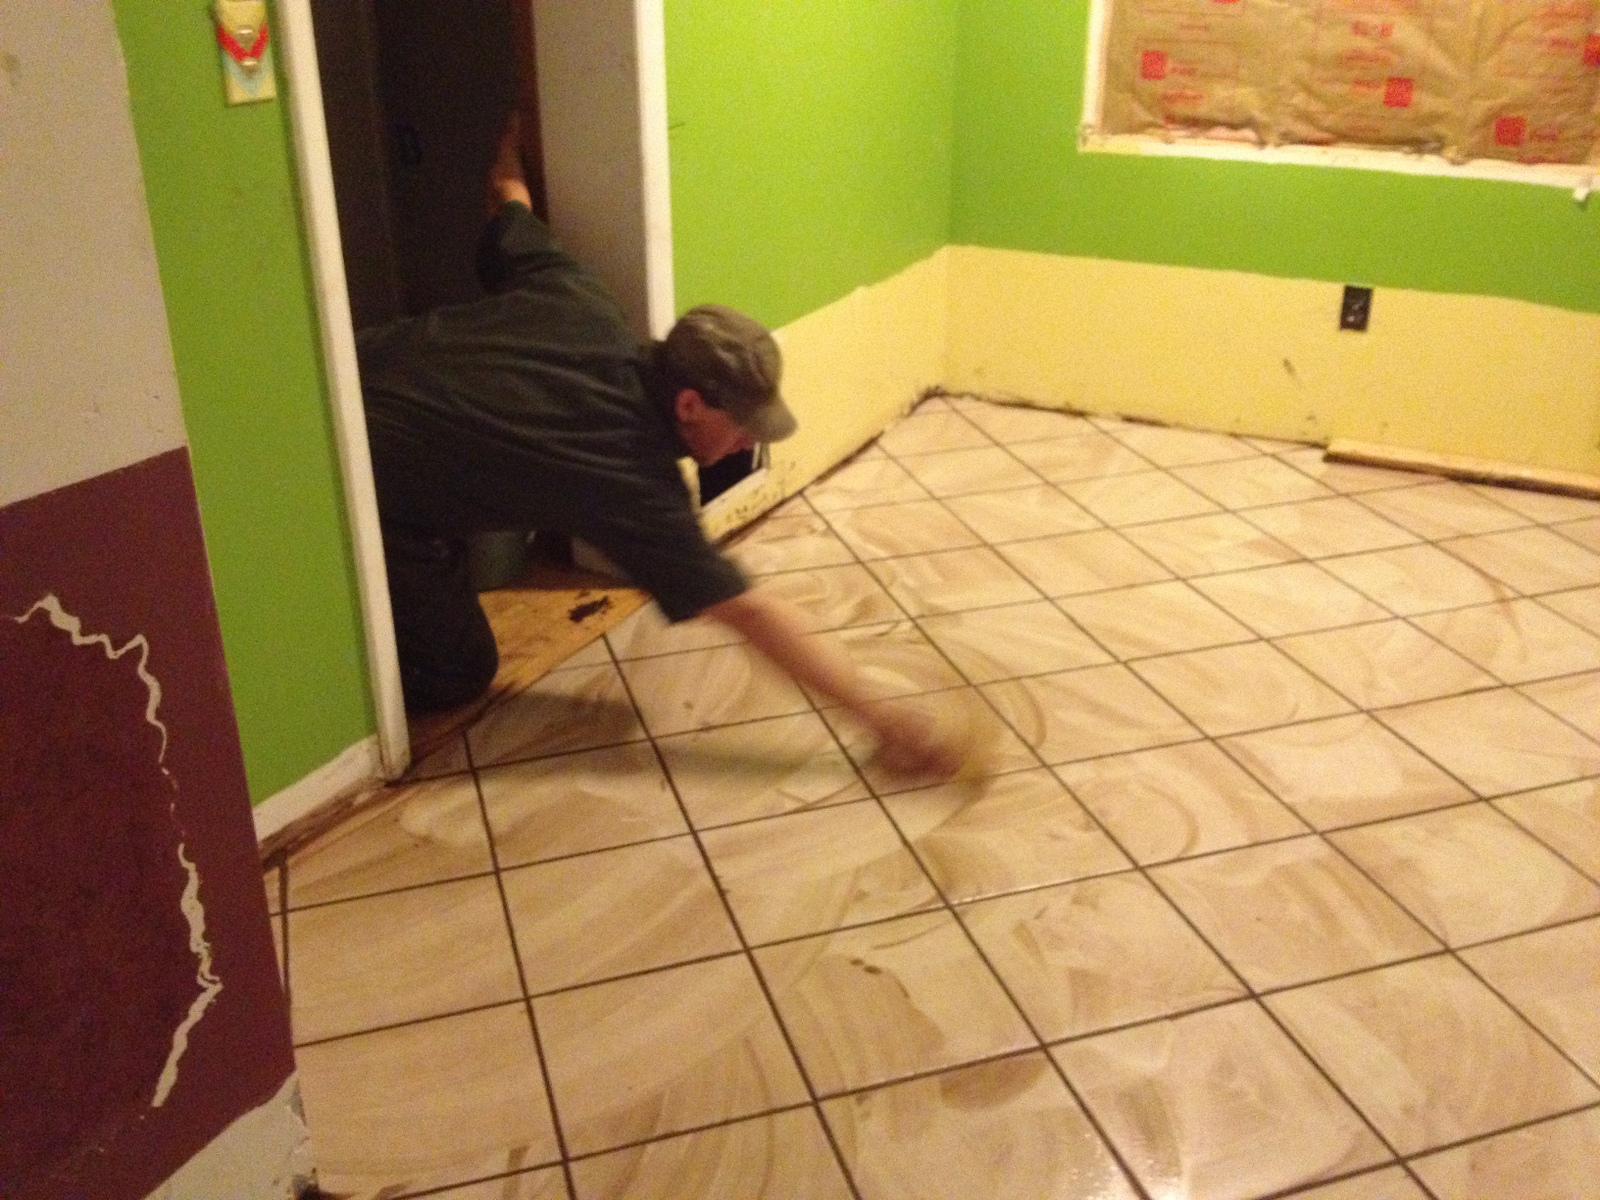
About halfway across the floor. Looks like a mess!

We didn't have much time to waste between getting the grout down and cleaning it up with sponges.

The first wipe down

After the first wipe down, we waited about ten minutes before starting the second. Then a few hours later the third, and the next day the fourth.

Sampson gets cozy on the newly grouted tile

And voila! We still have to seal the grout lines, but at least the cats like it.  Next up, cabinets!

Sunday, September 16, 2012

Laying the tile

Fixed sub-floor? Check. Ripped up remaining flooring? Check. Cursed a lot? Check and check. That  means it's time to tile. We bought 12" beige ceramic tile and decided to lay it on a diagonal.

Juniper was kind enough to be our tile-shopping "foreman"

Justin plans the layout

One thing that I think intimidates people about doing tile on a diagonal is trying to make complicated cuts while mastic is drying. Here's a little secret: do at least 1/3 of your starting layout and cuts before you start setting down anything.

Getting the layout started before setting down mastic
You'll see two types of spacers in this project: the little blue plus-shaped ones, and others that go in the corners called "bulleseyes". I have never used the bullseye type before, and thought on first glance that they might make things way easier...WRONG!

I can see where they would work for small tile on a wall in a straight arrangement, but I will never again use them for a floor. I've tiled a lot of floors on a diagonal before, and never had to fight so hard to keep my lines straight.  


About halfway through, I gave up on the bullseyes and went back to doing things the old-fashioned way.  Luckily, the spots where we went the furthest out of line will be under cabinets, not out in the open.

We also had to contend with some minor slope to the floor, even after rebuilding a large part of the subfloor. This means that we will have to jack up the center of the house at some point in the future. Hopefully, this will not wreck all of our tiling efforts. The diagonal mitigates the chances of really destroying the floor...or at least that's the hope.


Preparing the mastic 


Justin straightens a tile

Ta da! Here are all the tiles laid out. Isn't it lovely? Now we just need to let it dry for about a day before grouting.  


Monday, September 3, 2012

Kitchen Floor Transformation

This is just a quick slideshow of the transformation our kitchen floor has been through over the last few weeks.  Still more to do, but after a rough day getting the tile put down, we kind of needed to remind ourselves of how far we've come. We'll post more of the details of the process soon.