Pages

Friday, November 30, 2012

Final push on the kitchen (Part II)

When we last left our crazy young couple, they were building and staining cabinets like mad. Next up, varnishing and hanging doors! We used a low-odor, water-based satin acrylic from Minwax. We only did a single coat on all the cabinets and doors because we didn't want things super glossy.

Varnished cabinet doors dry on the counter tops, awaiting installation

Brigitte prepping the cabinets
By about noon every available surface was covered with cabinet doors and drawer faces drying.  Don't believe me?  Wait for it...

Even the laundry rack is not safe from our cabinet shenanigans! 

It didn't take long for the varnish to dry enough to start installing the drawer fronts and doors. But we ran into a snag when we couldn't find the box that we had put all the screws in. After a couple trips to the hardware store for replacements...we found the box. 

Justin attaches drawer fronts


And a few hours later...tada!


Like I said, there are still a lot of little things left to finish up over the next couple weeks. Most of which shouldn't disrupt our use of the kitchen for more than a day. Right now, we're just excited to be able to cook a meal with something other than a hot plate! More posts to follow as we polish up the details. Stay tuned!


Thursday, November 29, 2012

Final push on the kitchen cabinets (Part I)


9 PM Friday night...


...9 PM Sunday night!

This past weekend, we made a major push to get as much done on the kitchen as possible, and we were able to get it completely functional! There are a lot of little details (lighting, drywall, trim, back splash tile, etc) that will still need to be done. But after two months without a kitchen, we were both pretty excited to get it finished enough to move out of the basement mess hall.

Brigitte spent the weekend diligently sanding and staining all the cabinet doors. I had my work cut out for me routing the new microwave vent, building a custom cabinet to cover the mess, varnishing, and rehanging the doors.

The sanding and staining station
After a whole day of sanding, Brigitte gave each door two coats of Veristain "Traditional Pecan" stain. She did a great job, and the finish has hardly a single run or dark spot. Considering this was all done by hand, it was pretty labor intensive. But the first one she worked on looks just as good as the very last one, and that's saying something.


Brigitte at work on the cabinet doors

Meanwhile....in the kitchen. I had hoped to route the microwave vent straight out the back. Unfortunately, I hadn't considered the beam that runs through the center of the kitchen. It's supported by a 6x4" post right behind where I wanted the exterior vent to run.

Justin drilling a hole for the vent

Since I couldn't route the vent where I wanted, I had to re-route it about 10" from the top of the microwave to the one spot between the cabinets free of any structural supports. I used a 4" Milwaukee holesaw until I got to the exterior siding. Then, I went outside to drill through the other side.  

Preparing to install the vent

Once that was done, I had to try to rearrange to vent fittings to fit the awkward angle from the microwave to exterior vent. Once everything was connected, I wrapped aluminum duct tape around the joints to prevent grease from the vented smoke leaking into the wall.

Fitting the vent
Because of the way we vented the microwave, we had to construct a custom cabinet out of oak to cover it up. This is the second custom cabinet I've built for this project. I really can't say enough good things about the Kreg Jig. It's certainly earned it's keep on this job.


Custom cabinet to cover up the unattractive venting

Now that's a lot of Kreg joints!
Installing the microwave took a couple of attempts to line it up properly with the vent. The upper cabinet was reinforced to support the weight of the microwave. Considering that with this cabinet, we really just set out trying to make lemonade out of  lemons, I think this turned out really nice. 


Stove, microwave, and beautiful shelf!

Obviously we're not done yet.  Stay tuned for Part II: "gonna have ourselves a door hanging!"


Tuesday, November 13, 2012

New countertops: the Black Pearl has arrived!

Shiny new granite countertops

Our new counter tops are here, and they look fabulous! After weeks of waiting (and having issues with Home Depot), our kitchen is now starting to resemble a place where one might actually prepare food. In these photos, they appear jet black. They're actually a combination of black and gray (the color is called "Black Pearl").

Before: no countertops. :(

After: counter tops!
 Can you tell I'm excited?

When Justin came home, he walked into the kitchen with eyes covered and said, "I don't want to look!" And when he opened his eyes, the first words out of his mouth were "holy" followed by an expletive.

Neither of us has ever had granite counters, and the difference between that and run-of-the-mill laminate is astounding. Plus, when you consider how...um..."construction-zone-chic" our kitchen has been looking since summer, you can understand why something actually NICE looking would come as a sort of shock.


View from the sun room door
 These photos really don't do the counters justice, and that's largely because the rest of the kitchen is still such a work-in-progress. But just wait until we finish those walls and cabinet doors!

Lonely little corner cabinet

Still life with T-square and bananas
 Last night, we did some last minute projects to prepare for the install. Justin cleaned up the enameled cast iron sink we picked up at the Restore for a cool $20 (EDIT: Justin would like you to know that this is a Kohler sink that retails for $210), removing the scratches and blemishes with a pumice stone and Comet.


Justin preps our new (to us) sink

Enameled cast iron is easier to clean than people think

The crud left behind after cleaning the sink
We also started staining the cabinets in the "Golden Pecan" stain we picked out months ago.


Justin stains the cabinets

Golden Pecan stain on unfinished oak cabinets
We still have a LOT to do before the kitchen is finished. Here's a short list:
-- Install sink (including new faucet and garbage disposal) and hook up plumbing
-- Install microwave/vent over stove
-- Install light fixtures
-- Patch drywall near fridge
-- Finish up misc. electrical
-- Primer the 2nd half of the kitchen; paint texture over entire kitchen
-- Stain cabinets and reattach doors/drawer faces
-- Add a tiled backsplash

We will also eventually set up the kitchen island and finish building the butcher block top that Justin started a while back.

It's a lot of work, but we've come a long way, and it's going to be amazing when it's done!


Sunday, November 11, 2012

Green paint: goodbye, and good riddance!

Getting ready to primer

First of all, the big news: we are getting our counters on Tuesday! I am so excited. We'll be well on our way to having a normal kitchen again!

In the meantime, we wanted to make our kitchen less green. The paint color, that is. Lots of people have said that they really like the color, but neither of US do. I don't mind it *as a color*, I just don't like it at all in this space.

We covered the cabinets with plastic a while ago in preparation for painting. So today, I worked on painting primer over the half of the kitchen that was ready for it. 

Too much green!

Goodbye, purple!

There was also this last remaining patch of purple that we didn't paint over when we repainted the living room.

After the first coat of primer
One coat of primer over the purple paint...one more to go
And voila! Even without the bright light, the room already looks much brighter and more spacious. Next, we paint on texture. 


Saturday, November 10, 2012

Installing the new kitchen door

The old door (mid flooring project)
New door!
Our new door arrived this week over at Home Despot. Justin's dad was kind enough to lend a hand transporting it in his van, and then helping tear out the old door and installing the new one. We decided early on that we wanted an "out swing" door to give us just a little more room in the kitchen. The door leads out onto the sun room, so from a practical standpoint, it just made sense. We both would have preferred a door with a window, but really, during the summer months, we may just leave this door open all the time (well, at least once the sun room isn't being used as storage...and the AC isn't running).

Justin and Ted take out the old door

Removing the old door jamb
Sawz-all action

Looking at the wood that was under the door
Out with the old door jamb

Look, ma, no door!

The view into our oh-so-organized back porch/sun room
No header...WTF?

Justin describing the kind of header that should have been there


And the wood beneath the door isn't much better.

New footer

New header

Justin and Ted install the new jack stud


It's now an outswing door, which will give us some more room in the kitchen.  


Tuesday, November 6, 2012

More than you ever wanted to know about attic insulation

Our attic, devoid of even a scrap of insulation!

When we bought our house, the attic had no insulation whatsoever.

Proper insulation is one of the major challenges of an older house. One thing many people don't realize is that proper insulation is as much about saving your roof as it is about saving money. You can't simply fill your attic full of insulation and expect to save hundreds of dollars on your heating bill. You also have to make sure its properly ventilated to avoid the many dangers of humidity and moisture. Here's a brief explanation before we describe what we did in our attic:

Issue #1. Humidity

Have you ever noticed on a cold October morning that the inside of your car windows are frosty, but the outside isn't? This has to do with moisture in the air: the air inside your car is humid, while the air outside is dry.

This can also happen to your roof. The warm, moist air in your house rises to the attic, where it meets the cold surface of the roof. Guess what happens then? Just like inside your car, the moisture condenses on the inside surface of the roof deck. When it's heated during the day, the condensation runs off the roof deck into your insulation, causing mold, rot, and a whole host of problems. You can avoid this by properly ventilating the space between your insulation and roof deck.

Issue #2. Ice Damming (The big problem)

If you were to take a drive through your neighborhood on a cold winter night after a snow and look at the roofs of the houses, you might see some interesting things. On some roofs, you would see a nice, even blanket of snow. This is a good thing. On other roofs, you may notice that only the eaves are covered, while the peak of the roof is bare.This is a bad thing.

Why? On a warmer part of the roof, snow melts into water, flows toward a colder section of the roof, and then refreezes, forming an ice dam. Ice dams can force open the seams of shingles, develop into leaks, and ruin your roof.

A properly insulated attic goes a long way to protecting your roof from ice dams. So remember: when you insulate an attic, you are not simply trying to keep heat from escaping, you are also trying to keep the interior surface of the roof deck the same temperature as the exterior surface (that is, cold). But how? Enter the "air gap".

Solution: Mind the Gap


Plastic baffles maintain an air gap between the roof deck and the insulation.  
Ever wonder why old houses have empty walls? It's because air is a great insulator. Even modern insulation (and things like down jackets and knit sweaters) use this principle. If you install insulation directly to the interior surface of the roof deck, it will transfer heat, warming the roof (which, as previously explained, is a bad idea). On the other hand, installing baffles between the roof and your insulation provides an air gap, which allows for better air flow and ventilation, therefore minimizing humidity. 


Our Insulation Challenges

Loading up on insulation.

Insulating old houses is tricky any way you slice it, but it's especially tricky when you want to retain the attic as usable space, which we do. We are not planning to use (or heat) the attic this winter, but we do plan to finish it eventually, something we need to keep in mind as we prepare our insulation now.

Our house is essentially an  "American Foursquare," except that it has a gabled roof instead of the typical hipped roof. It lacks vented eaves, which poses a challenge. There are options for older house without standard eaves, such as drip edge vents. But our roof poses problems for this option, too.

We are planning to redo the siding next summer, and during this project, we will likely have to build new "ladders" for the soffits and fascias. When we do that, we can also add soffit venting, which will be a big help for our roof and insulation.


Insulation plan for 2012.   

Until then, the challenge will be ventilating without the soffit vents. To do this, we are going to add a couple of fanned gable vents to each knee wall.  This is less than ideal, but should work for at least a year. We are most concerned about the front of the house, since all of the existing static vents are on the back of the house.

Initially,  Justin had hoped to be able to use the gable fans to move cool air from the side of the house that didn't receive direct sunlight to the side that could (see the fan layout in the the image below).  He figured out that this wouldn't work with the existing roof vents. So instead, all the fans will pull air in. This should help move hot air from the front of the house up and over the peak to the rear static vents.

Top view of one possible plan for venting (note: the fan directions are wrong).

It's Never Just One Project


not only did we have to insulate...we also had some construction to do.
As we've mentioned in earlier posts, the previous owners did not always make wise decisions when "fixing" things. Unfortunately, they didn't take ventilation into account when they re-shingled the roof. Also, while re-shingling, they neglected to address areas of rot around the chimney flue, caused by (can you guess?) poorly installed insulation. They had also removed all the old paper insulation, and it's safe to assume they did so because it, in turn, had been improperly installed back in the 50's, and therefore developed mold and rot.


The sad remains of a "cripple" that was holding up the roof around the chimney.
Justin had to address this issue shortly after starting the insulation project.

2X6s poorly installed and unsupported by the previous owner.
The rotting led to a slight sag in the roof around the flue. The previous owners "sistered" 2x6s to the existing rotted out cripples, and didn't even bother cutting them at the correct angles. 

2X6s unsupported, and not properly mitered.
Justin added some additional cripples and properly mitered "sisters", and carefully removed and replaced the rotted out material. For added support of this section of the roof, he also added a knee wall (pictures taken while in progress).
Justin builds reinforcement for the roof

There is a lot left to be done. We need to complete the knee wall the previous owners started (with spacing of 24" on center). We've insulated behind the knee wall with R38 over the floor for now, and plan to add more insulation after this season.


R38 fiberglass bats behind the knee wall

The knee walls and sloped roof sections have been insulated with R13. Ultimately, when we finish the attic, the R13 will also get a layer of 2" R10 rigid foam, followed by a layer of 1/4" plywood, and then 1/2" drywall.

R13 fiberglass insulation on sloped roof sections

All of the rafter baffles have been connected at the peak, and duct taped together. Our roof is framed with out a "king beam", which obstructs air flow; otherwise, this wouldn't be possible.  

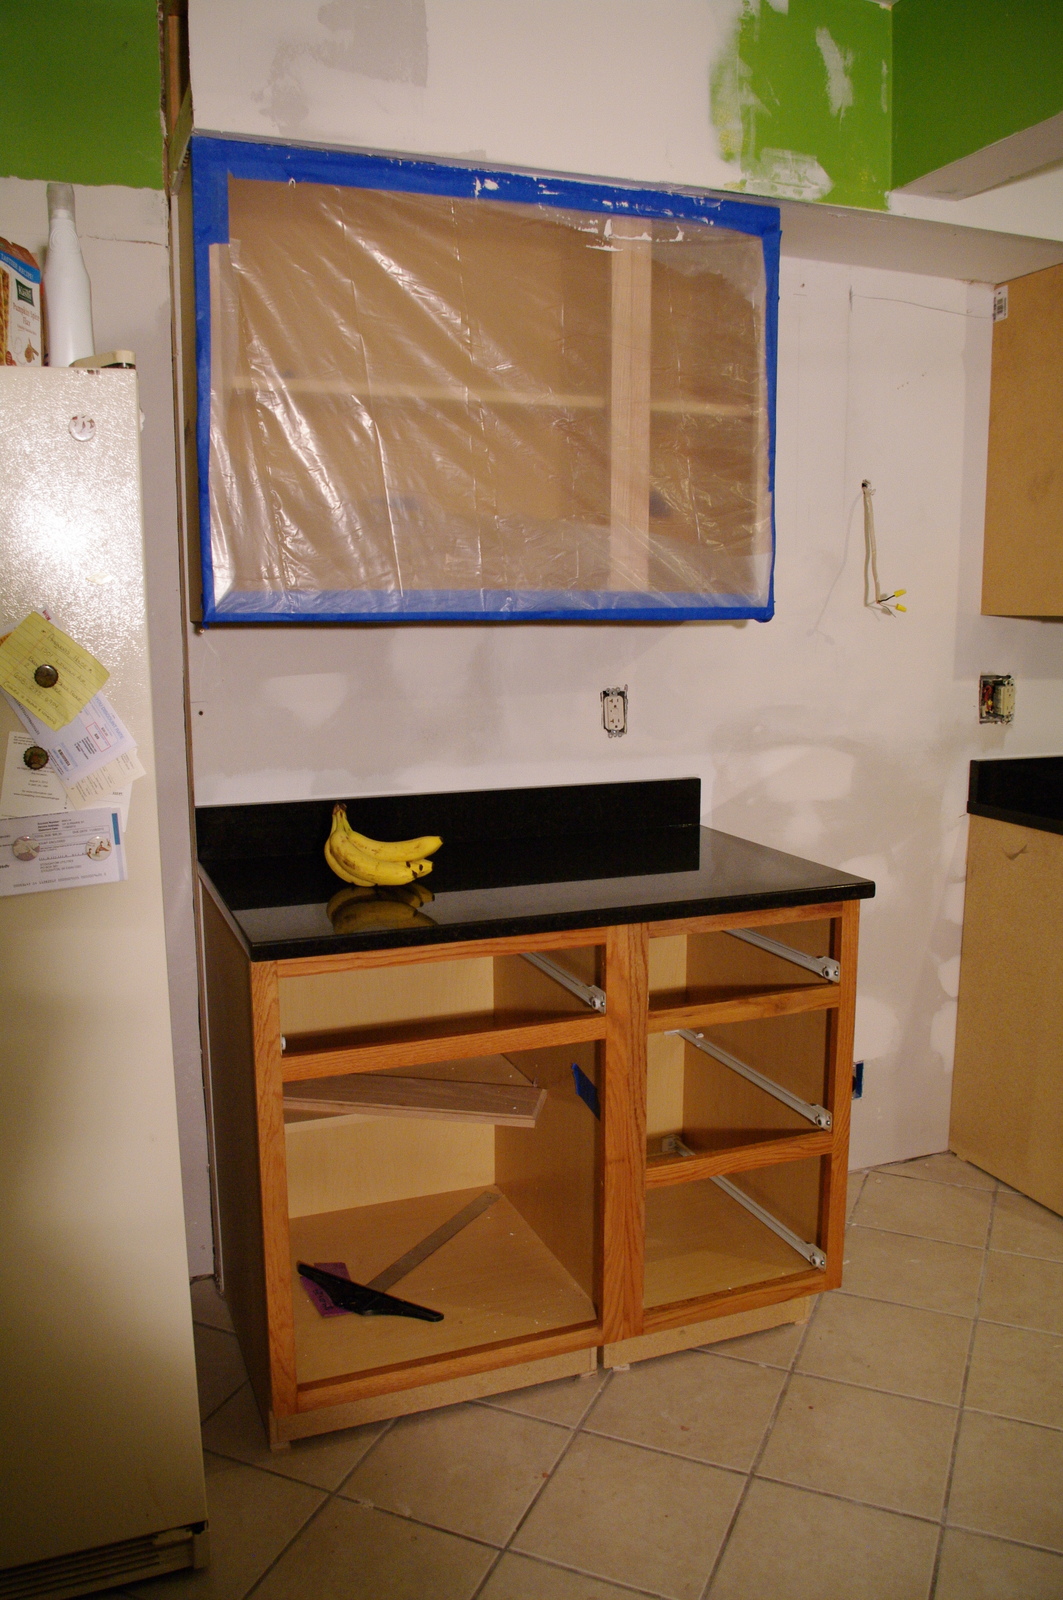
So lots more work to do this week. Good thing the kitchen is on hold for another 2 weeks while we wait for our granite...though we should be back on that soon, too!